Cleaning Cat Litter Boxes is far more than just a routine chore. It’s a crucial aspect of maintaining your cat’s health. Just as you wouldn’t want to use a dirty restroom, your cat deserves a clean and hygienic place to do its business.
A well – maintained litter box can prevent various health issues in cats, such as urinary tract infections. It also keeps your home free from unpleasant odors. Let’s dive into the step – by – step process of proper litter box cleaning.
Step 1: Determine the Cleaning Frequency
The frequency of cleaning your cat’s litter box depends on several factors. If you have a single cat using a standard – sized litter box with clumping litter, scoop out solid waste and clumps at least once a day.
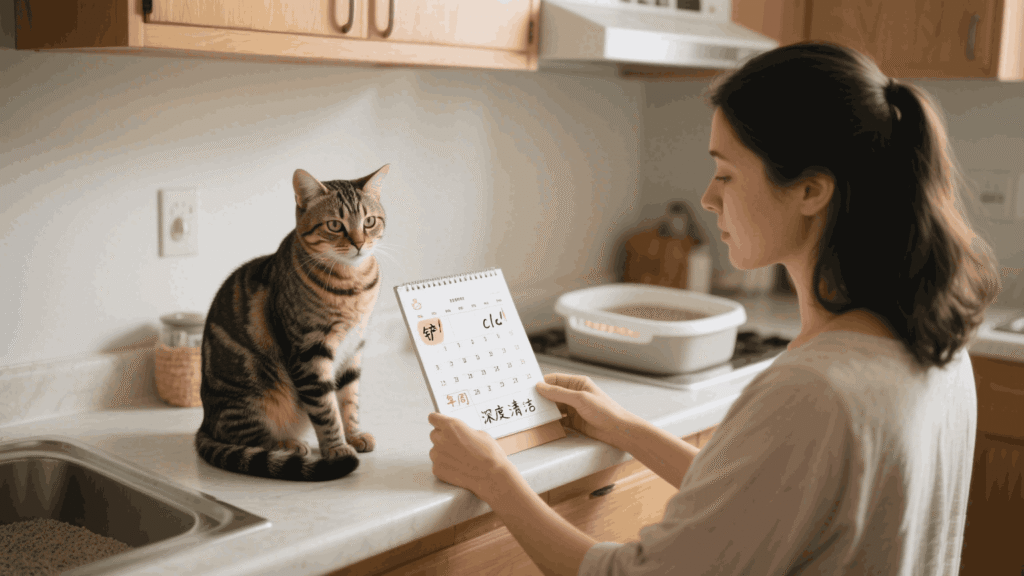
Think of it like taking out the trash regularly. You wouldn’t let garbage pile up in your kitchen bin. For a multi – cat household, you may need to scoop two or three times a day, depending on the number of cats and their usage patterns. A full, deep clean every one to two weeks is also necessary.
Step 2: Gather the Necessary Supplies
Before you start cleaning, make sure you have all the right tools. You’ll need a sturdy litter scoop, which is like a mini shovel for picking up waste. Rubber gloves are essential to protect your hands from bacteria and the smell.

A large garbage bag will be used to dispose of the used litter. For deep – cleaning, you’ll need a mild, pet – safe detergent or cleaner, a scrub brush, and a clean towel for drying. Having everything ready beforehand saves time, just like having ingredients prepared before cooking.
Step 3: Daily Scooping
Daily scooping is the first line of defense in keeping the litter box clean. Put on your rubber gloves and grab the litter scoop. Start by gently sifting through the litter, looking for solid waste or clumps.
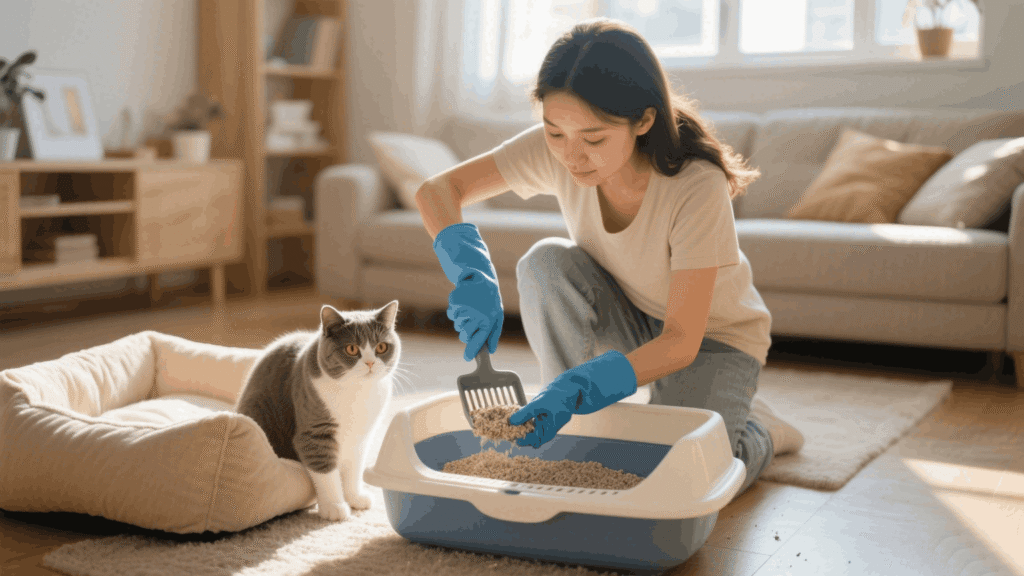
Carefully lift these out with the scoop and place them into the garbage bag. Be thorough in your search. Missing even a small clump can lead to odors and a less – than – clean environment for your cat. After scooping, tie up the bag and dispose of it outside.
Step 4: Empty the Litter Box for Deep Cleaning
When it’s time for the weekly or bi – weekly deep clean, you’ll need to empty the entire litter box. Put on your gloves again and carefully pour the used litter into the garbage bag.

If the litter is clumping, it should come out in large chunks. For non – clumping litter, use the scoop to remove as much as possible. Once most of the litter is out, tilt the box to let any remaining litter fall into the bag. This clears the way for a thorough clean.
Step 5: Wash the Litter Box
Now that the litter box is empty, it’s time to wash it. Fill a sink or bathtub with warm water and add a small amount of pet – safe detergent. Place the litter box in the water and let it soak for a few minutes.
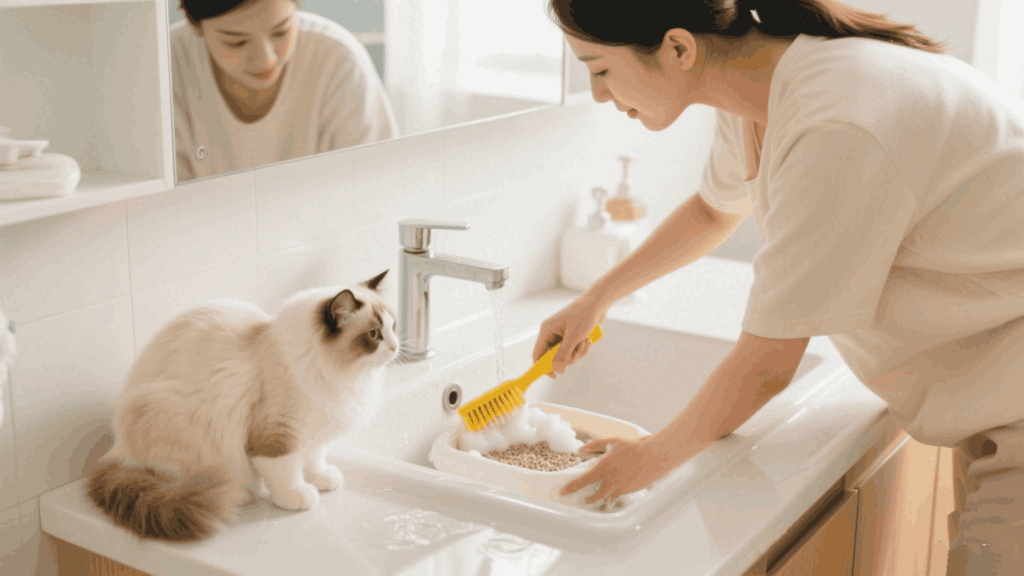
This helps loosen dirt or grime. After soaking, use the scrub brush to scrub the inside and outside of the box. Pay special attention to corners and edges where bacteria can hide. Rinse the box thoroughly with clean water to remove all detergent.
Step 6: Disinfect the Litter Box
Disinfecting the litter box is important to kill bacteria or germs. You can use a pet – safe disinfectant spray or solution. Follow the product label instructions carefully.
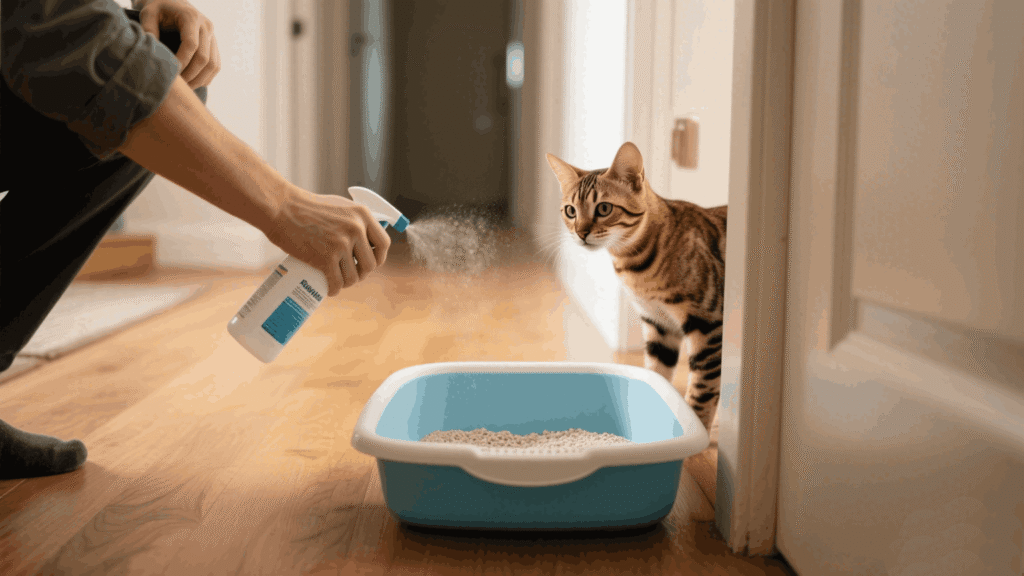
Generally, spray the inside of the box evenly and let it sit for a few minutes. This allows the disinfectant to work effectively. After the waiting period, rinse the box again with clean water to ensure no disinfectant remains.
Step 7: Dry the Litter Box
Once the litter box is clean and disinfected, it needs to be completely dry before adding new litter. You can use a clean towel to wipe down the inside and outside of the box, absorbing as much water as possible.

Alternatively, place the box in a well – ventilated area and let it air – dry. Make sure there are no damp spots, as moisture can cause new litter to clump prematurely or create a breeding ground for bacteria.
Step 8: Add Fresh Litter
After the litter box is dry, it’s time to add fresh litter. The amount depends on the box size and your cat’s preferences. Generally, a layer of about 2 – 3 inches is sufficient.

Pour the litter evenly into the box, covering the entire bottom surface. You can use a litter scoop to spread it out if needed. Fresh litter provides a comfortable and clean surface for your cat to use.
Step 9: Place the Litter Box Back in Its Spot
Once the fresh litter is in place, carefully place the litter box back in its designated location. Choose a quiet and private area that is easily accessible to your cat but away from its food and water bowls.
Cats prefer a secluded spot where they can feel safe while doing their business. Make sure the area is well – lit so your cat can see clearly, but not too bright. A well – placed litter box encourages regular use.
Conclusion: The Rewards of a Clean Litter Box
By following these steps for properly cleaning your cat’s litter box, you’re ensuring your cat’s health and well – being. You’re also creating a more pleasant living environment for yourself.
A clean litter box reduces odors, prevents the spread of bacteria, and promotes good hygiene in your home. It also strengthens the bond between you and your cat. So, make litter box cleaning a regular part of your routine and enjoy a happy cat and a fresh – smelling home.